Similar Posts

Photoshop Project 3: Combine Two Images With Layer Masks
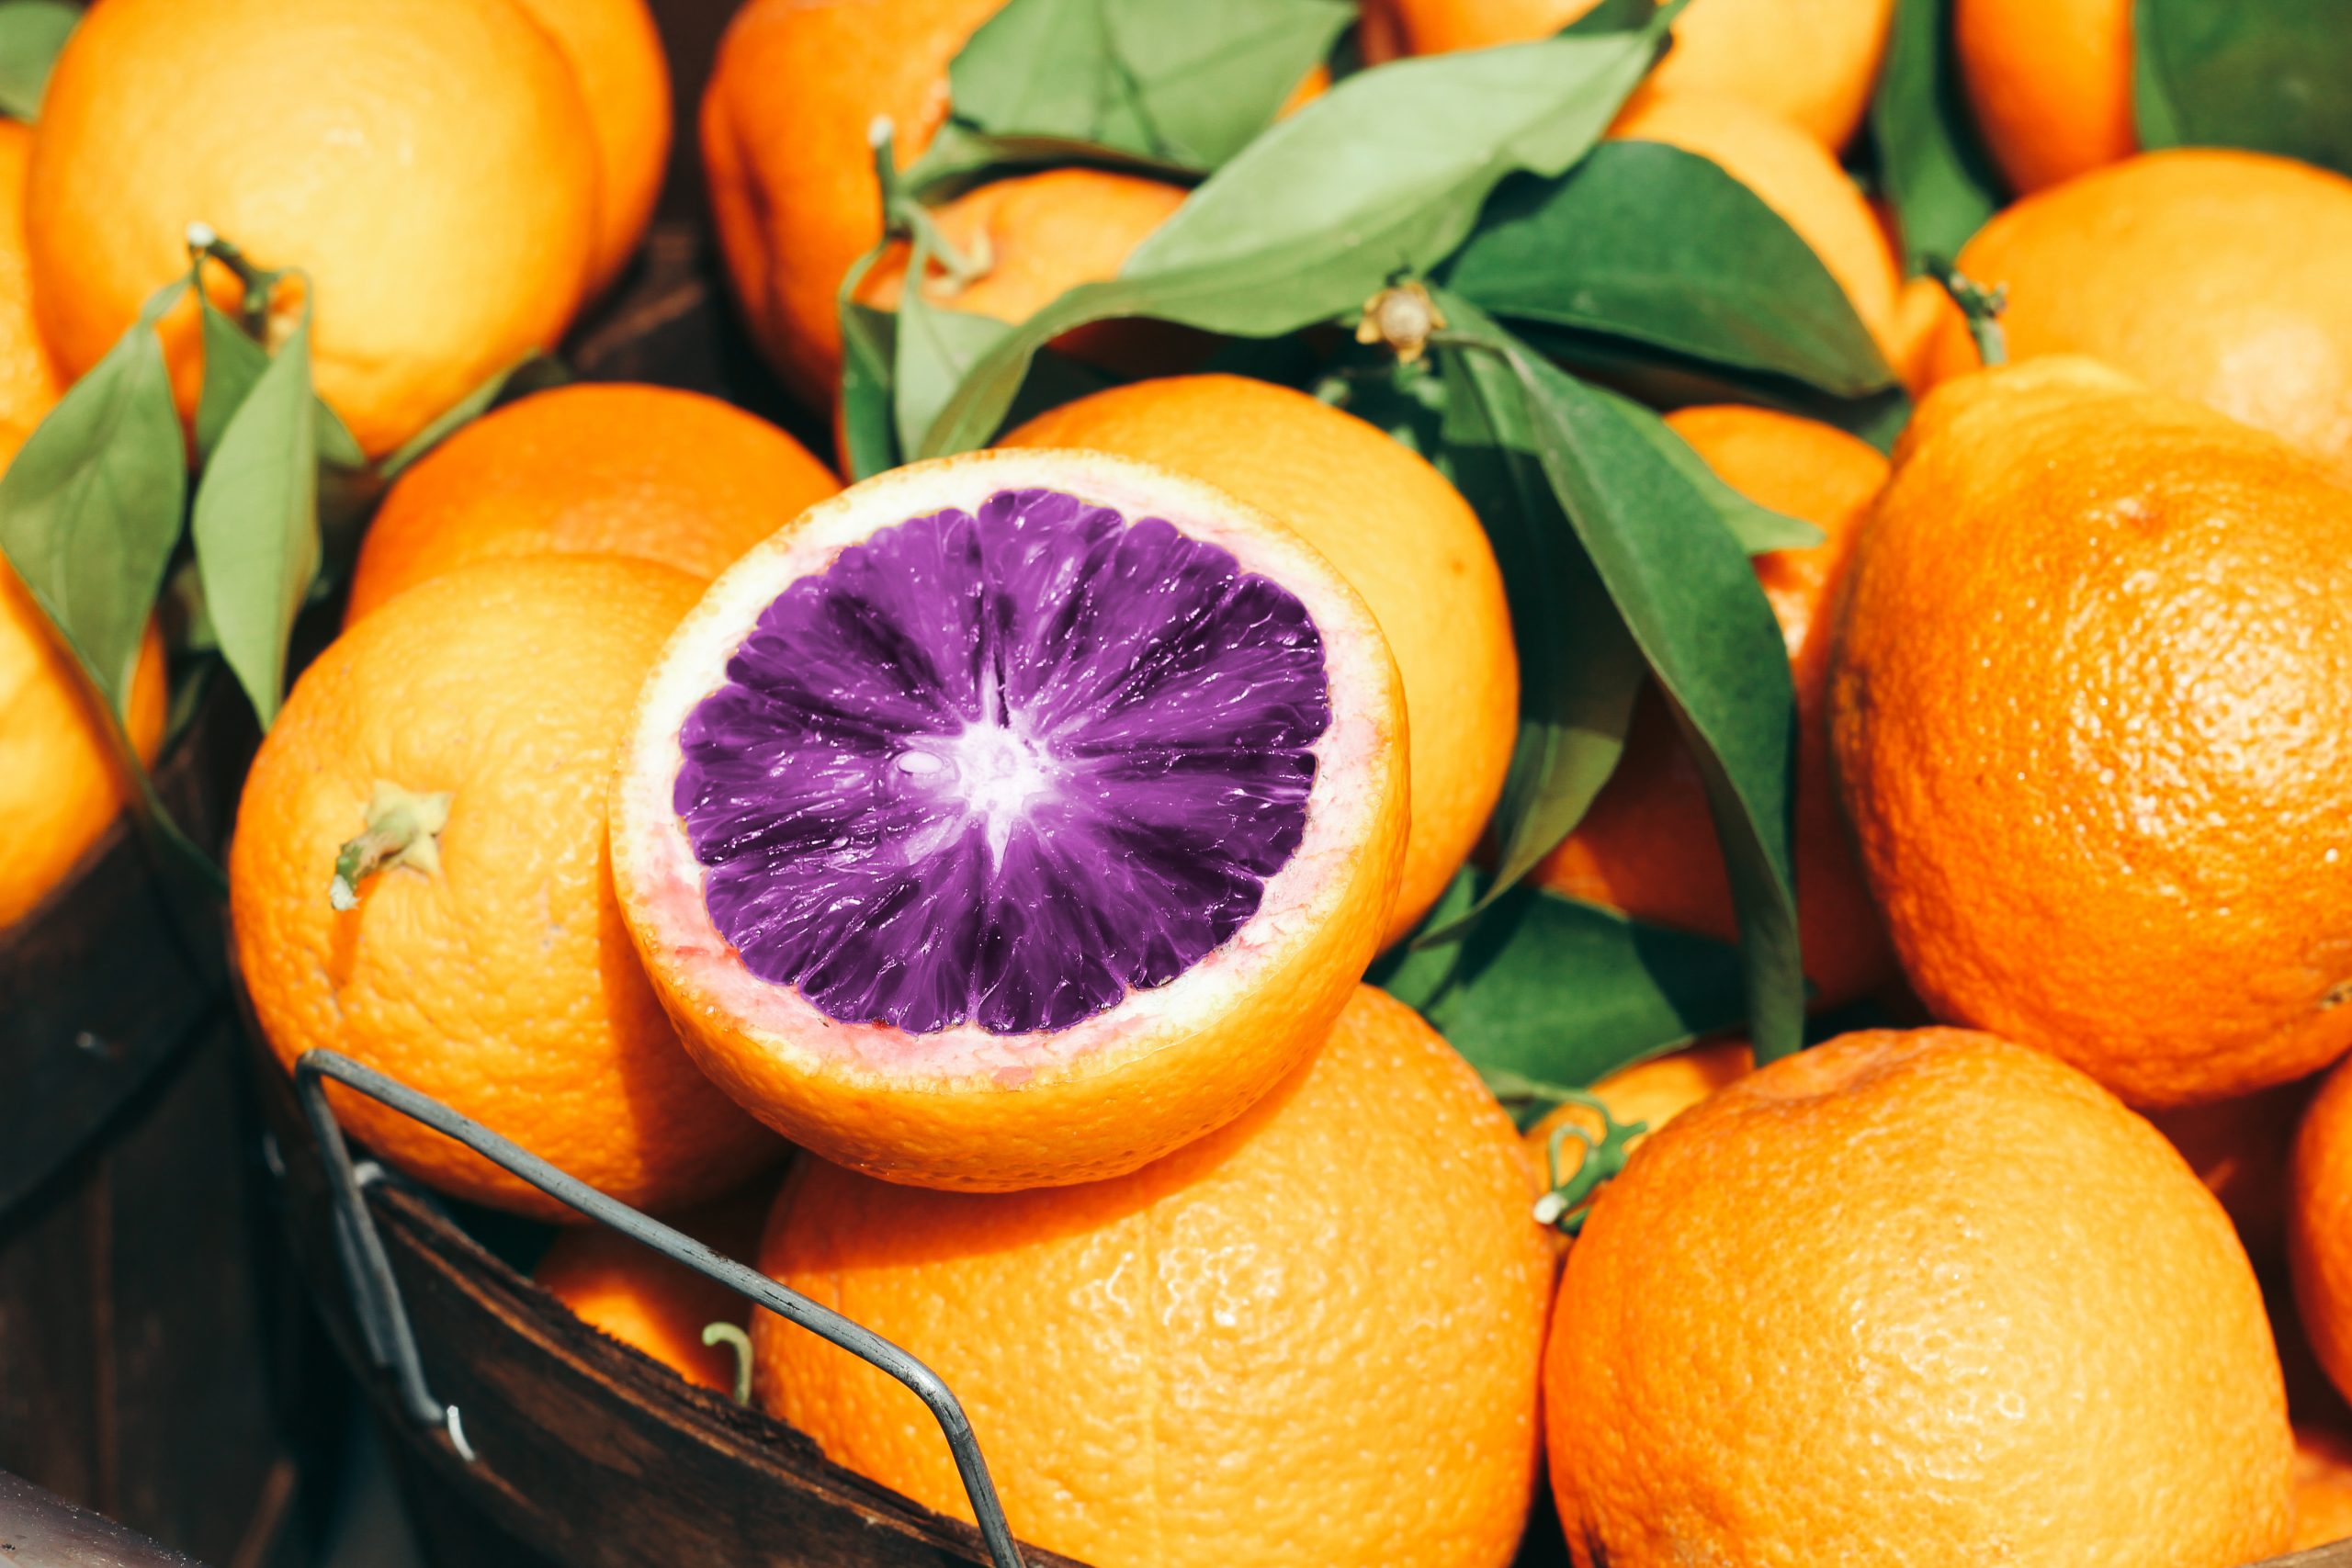
[siteorigin_widget class=”WP_Widget_Media_Image”][/siteorigin_widget] This project demonstrates how to combine elements from two different images into one. First we start by combing both images onto one PSD file. Then we enable a mask on the top layer and use the brush to get rid of the sky from one image and use the sky for the other….

Photoshop Project 11: Design A Flat Illustration
This example uses various Photoshop shapes and effects to create a flat illustration.
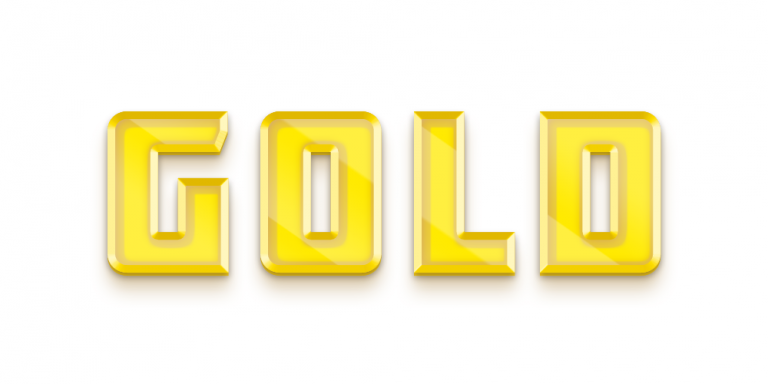
Photoshop Project 14: Gold Text Effect
This text effect uses various Layer Styles including: Color Overlay; Inner Glow; Inner Shadow; Drop Shadow; Stroke; Bevel & Emboss; and Gradient Overlay.
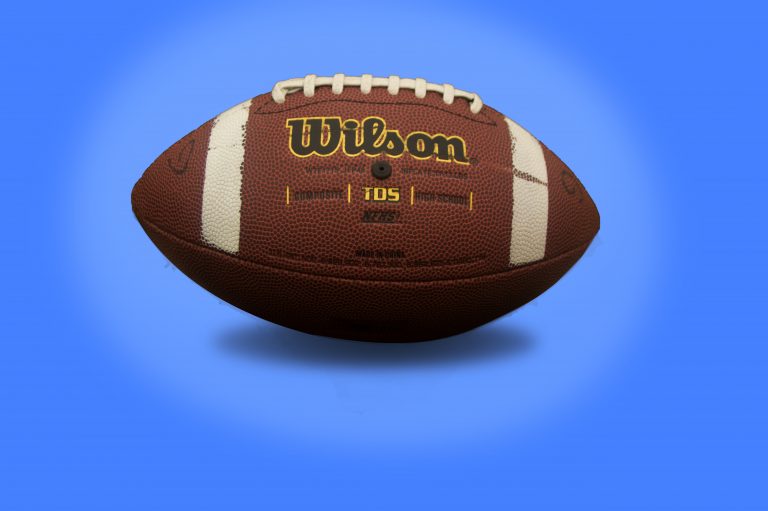
Photoshop Project 6: Remove Background
[siteorigin_widget class=”WP_Widget_Media_Image”][/siteorigin_widget] In this project we take a photo of a football, remove the background, add a shadow and apply a vignette effect. Use the quick selection tool to apply a selection around the ball. Create a layer mask and then use the pen tool to select the area underneath the ball. Use the paint…
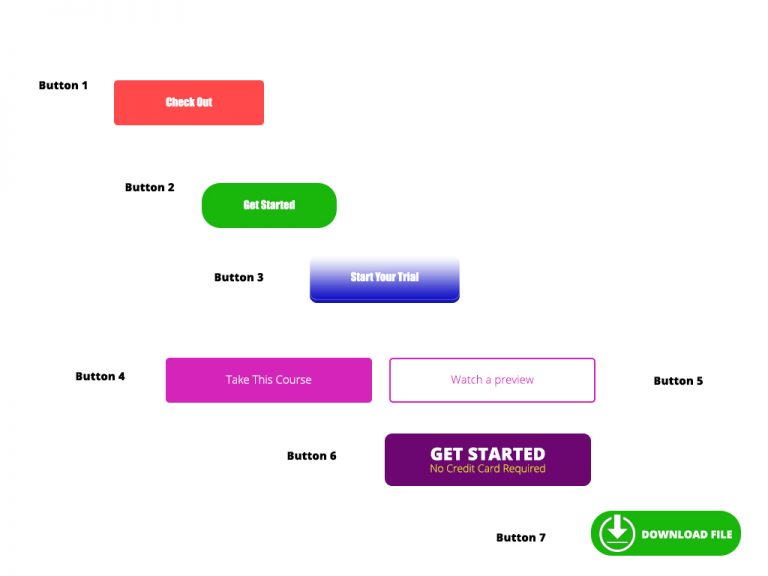
Photoshop Project 8: Experimenting With Different Call To Action Buttons
[siteorigin_widget class=”WP_Widget_Media_Image”][/siteorigin_widget] In this project we experiment with different types of Call To Action Buttons. Button 1: Simple rounded rectangle with a radius of 5px and some text. Button 2: Simple rounded rectangle with a radius of 25px and some text. Button 3: Radius of 10px. Plus gradient overlay. Plus drop shadow. Plus inner shadow….
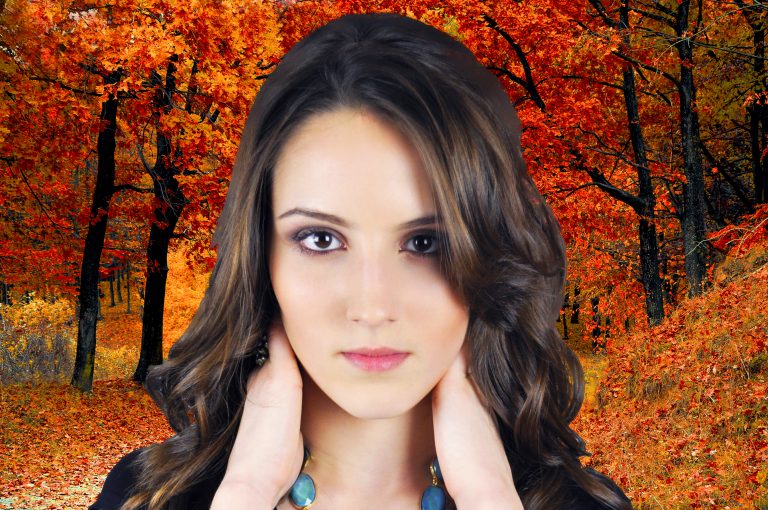
Photoshop Project 7: Select And Mask For Editing Hair
[siteorigin_widget class=”WP_Widget_Media_Image”][/siteorigin_widget] This project is an example of editing out hair. We start by using the quick selection tool to choose the girl. We then turn on the select and mask feature. From within the select and mask feature we can adjust the view mode, opacity and selection radius. We can then use the refine…