Similar Posts
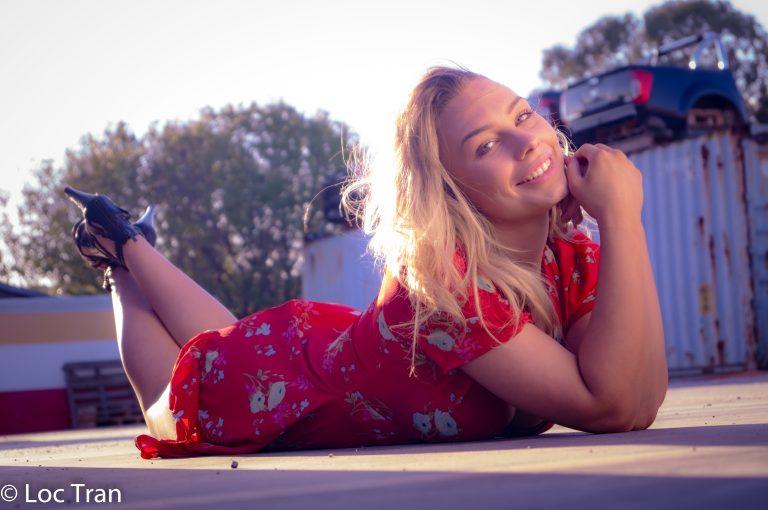
Photography Session 1: Photography Workshop With The Adelaide Digital Photography Meet-Up Group
Very excited to have completed my first photography workshop with the Adelaide Digital Photography Meet-Up Group! I now know about stuff like aperture, shutter speed and ISO… so can finally move away from using the camera’s automatic settings haha. Also, my camera is too old ? Thanks to Colin and Jessica for their kind support….

Photoshop Project 10: Create A Simple Website Layout
In this project we use the rectangle and rounded rectangle shapes to create a simple website layout. This includes a header, hero image and four featured images. We then add images using the clipping mask tool so that they fit nicely within the shapes / layout that we have designed.
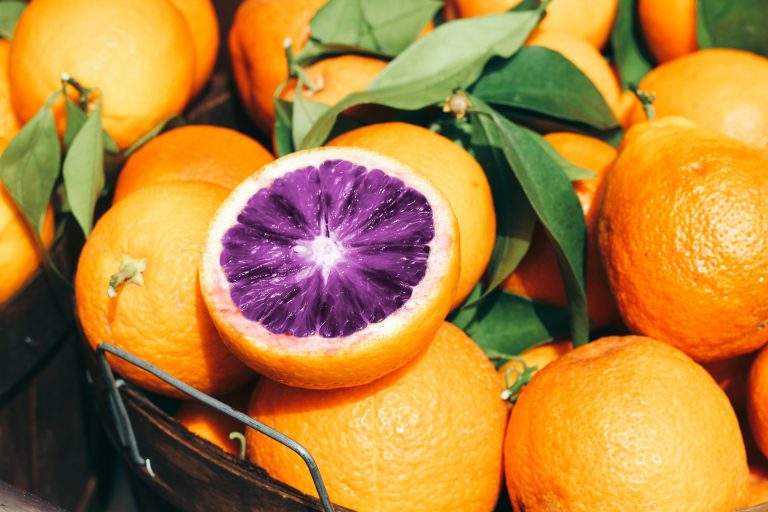
Photoshop Project 4: Make The Inside Of An Orange Turn Purple
[siteorigin_widget class=”WP_Widget_Media_Image”][/siteorigin_widget] In this example we change the colour of the inside of an orange from blood orange to purple using hue / saturation from the list of color adjustment options. First we select the inside of the orange using the quick selection tool and then we adjust the hue and saturation to get the…
Photoshop Project 5: Change The Colour Of A Shirt
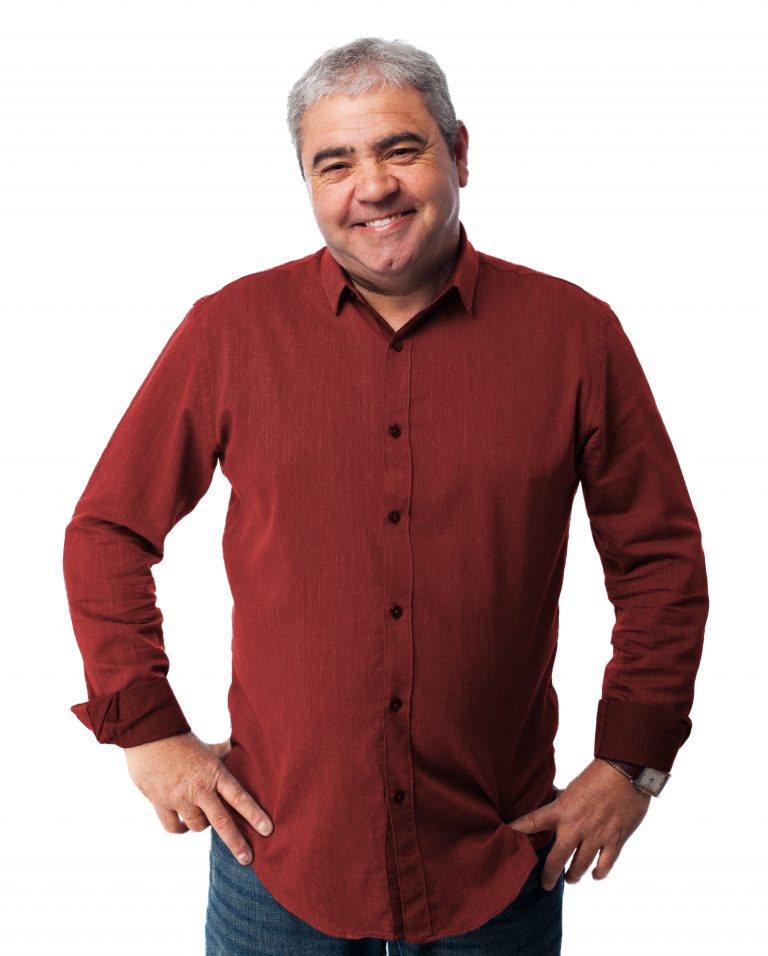
[siteorigin_widget class=”WP_Widget_Media_Image”][/siteorigin_widget] In this example we change the colour of a shirt. First we use the quick selection tool to isolate the shirt then turn on color adjustment – hue / saturation. Secondly we adjust the hue, saturation and lightness until we get the desired colour turning down the hue and saturation for a more…
Photoshop Project 6: Remove Background
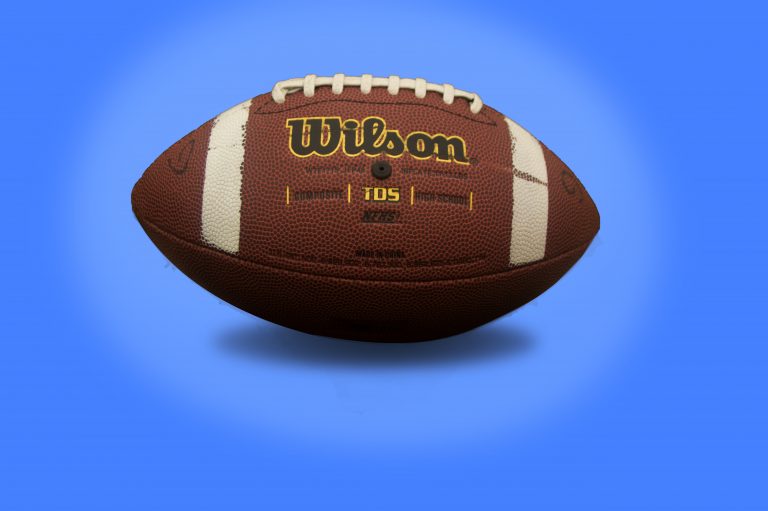
[siteorigin_widget class=”WP_Widget_Media_Image”][/siteorigin_widget] In this project we take a photo of a football, remove the background, add a shadow and apply a vignette effect. Use the quick selection tool to apply a selection around the ball. Create a layer mask and then use the pen tool to select the area underneath the ball. Use the paint…
Photoshop Project 3: Combine Two Images With Layer Masks
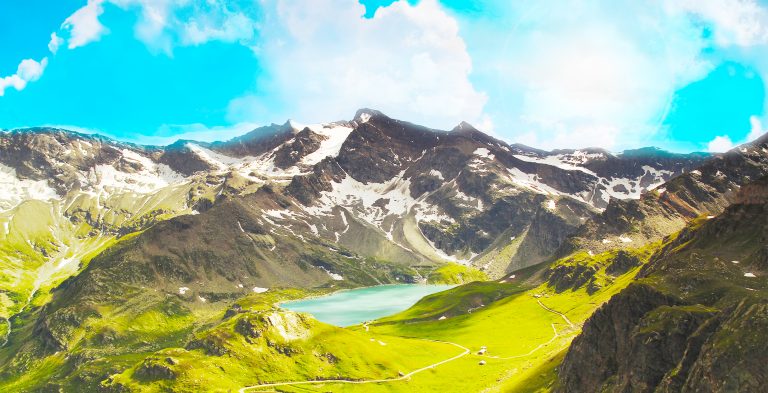
[siteorigin_widget class=”WP_Widget_Media_Image”][/siteorigin_widget] This project demonstrates how to combine elements from two different images into one. First we start by combing both images onto one PSD file. Then we enable a mask on the top layer and use the brush to get rid of the sky from one image and use the sky for the other….