

Similar Posts
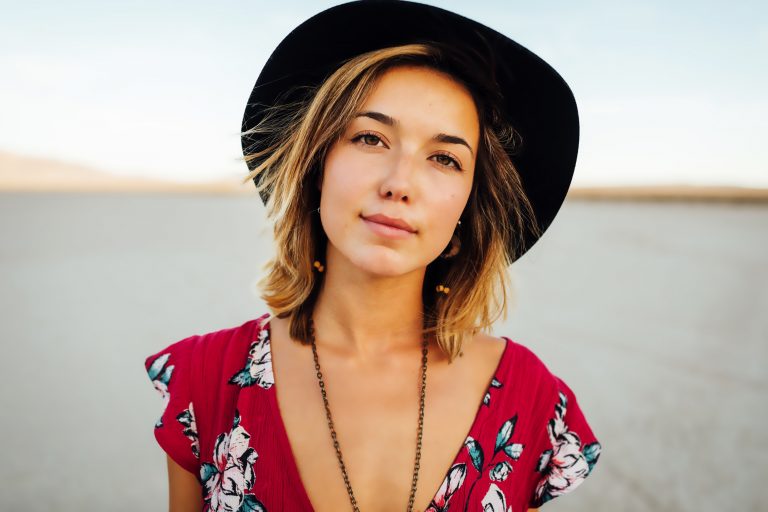
Photoshop Project 2: Softening Skin Imperfections
[siteorigin_widget class=”WP_Widget_Media_Image”][/siteorigin_widget] This project demonstrates how to soften skin imperfections. First we start by softening the light and opacity of the image. Then we apply a surface blur and use the brush tool to bring back the details. [siteorigin_widget class=”WP_Widget_Custom_HTML”][/siteorigin_widget]

Photoshop Project 1: Make A Photo Black & White And Then Highlight The Lips & Finger Nails
[siteorigin_widget class=”WP_Widget_Media_Image”][/siteorigin_widget] This project demonstrates how to take a colour photo and change it to Black & White. We then adjust the colour Properties to enhance the hair (reducing the Blues and Magentas). And then we use the Brush tool to bring back the red lips and finger nails. [siteorigin_widget class=”WP_Widget_Custom_HTML”][/siteorigin_widget]

Photoshop Project 10: Create A Simple Website Layout
In this project we use the rectangle and rounded rectangle shapes to create a simple website layout. This includes a header, hero image and four featured images. We then add images using the clipping mask tool so that they fit nicely within the shapes / layout that we have designed.

Photoshop Project 14: Gold Text Effect
This text effect uses various Layer Styles including: Color Overlay; Inner Glow; Inner Shadow; Drop Shadow; Stroke; Bevel & Emboss; and Gradient Overlay.
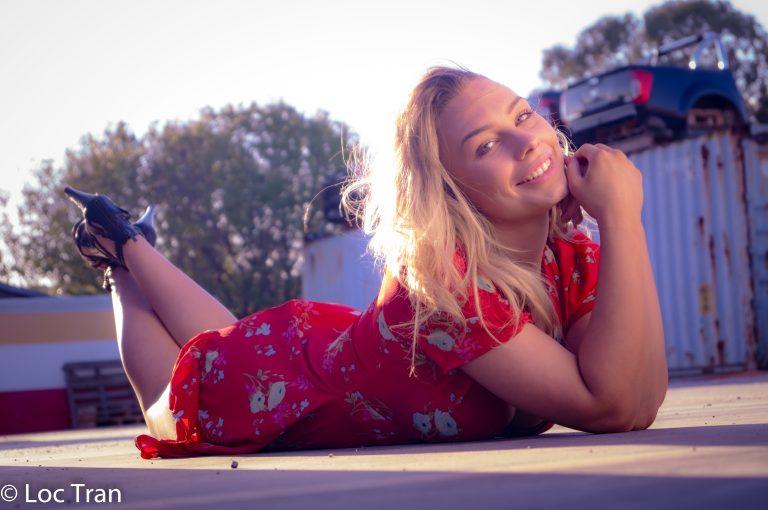
Photography Session 1: Photography Workshop With The Adelaide Digital Photography Meet-Up Group
Very excited to have completed my first photography workshop with the Adelaide Digital Photography Meet-Up Group! I now know about stuff like aperture, shutter speed and ISO… so can finally move away from using the camera’s automatic settings haha. Also, my camera is too old ? Thanks to Colin and Jessica for their kind support….
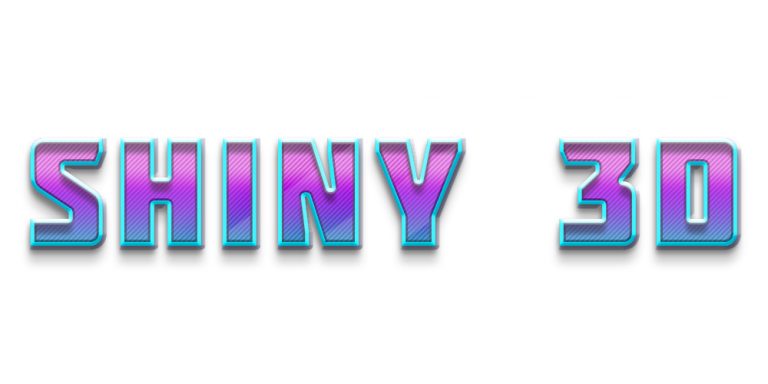
Photoshop Project 12: Create Shiny 3D Text
This text uses various Layer Styles including Gradient Overlay, Inner Shadow, Pattern Overlay, Stroke and Bevel & Emboss.