
Similar Posts
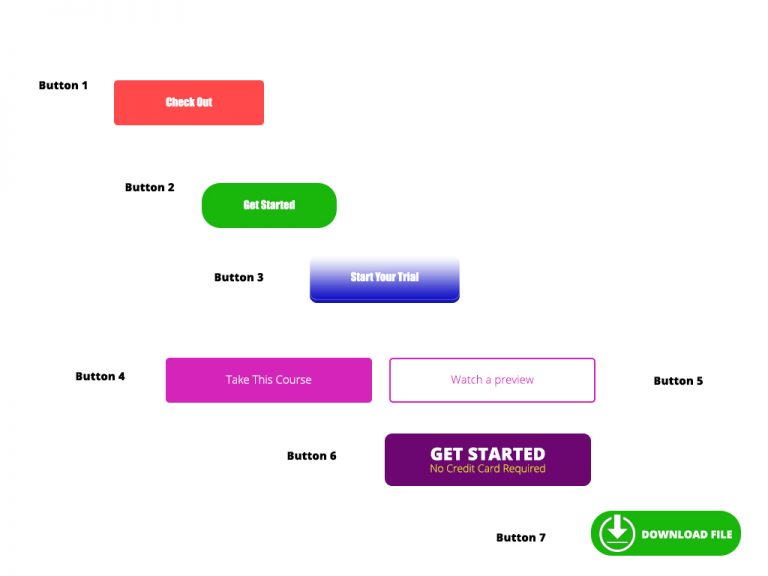
Photoshop Project 8: Experimenting With Different Call To Action Buttons
[siteorigin_widget class=”WP_Widget_Media_Image”][/siteorigin_widget] In this project we experiment with different types of Call To Action Buttons. Button 1: Simple rounded rectangle with a radius of 5px and some text. Button 2: Simple rounded rectangle with a radius of 25px and some text. Button 3: Radius of 10px. Plus gradient overlay. Plus drop shadow. Plus inner shadow….

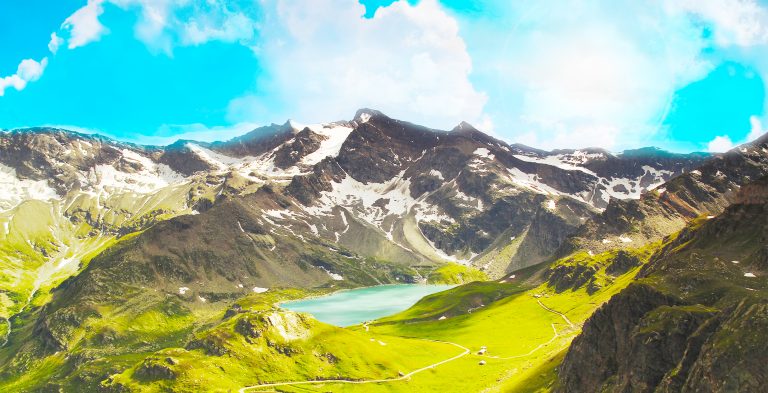
Photoshop Project 10: Create A Simple Website Layout
In this project we use the rectangle and rounded rectangle shapes to create a simple website layout. This includes a header, hero image and four featured images. We then add images using the clipping mask tool so that they fit nicely within the shapes / layout that we have designed.

Photoshop Project 1: Make A Photo Black & White And Then Highlight The Lips & Finger Nails
[siteorigin_widget class=”WP_Widget_Media_Image”][/siteorigin_widget] This project demonstrates how to take a colour photo and change it to Black & White. We then adjust the colour Properties to enhance the hair (reducing the Blues and Magentas). And then we use the Brush tool to bring back the red lips and finger nails. [siteorigin_widget class=”WP_Widget_Custom_HTML”][/siteorigin_widget]

Photoshop Project 6: Remove Background
[siteorigin_widget class=”WP_Widget_Media_Image”][/siteorigin_widget] In this project we take a photo of a football, remove the background, add a shadow and apply a vignette effect. Use the quick selection tool to apply a selection around the ball. Create a layer mask and then use the pen tool to select the area underneath the ball. Use the paint…
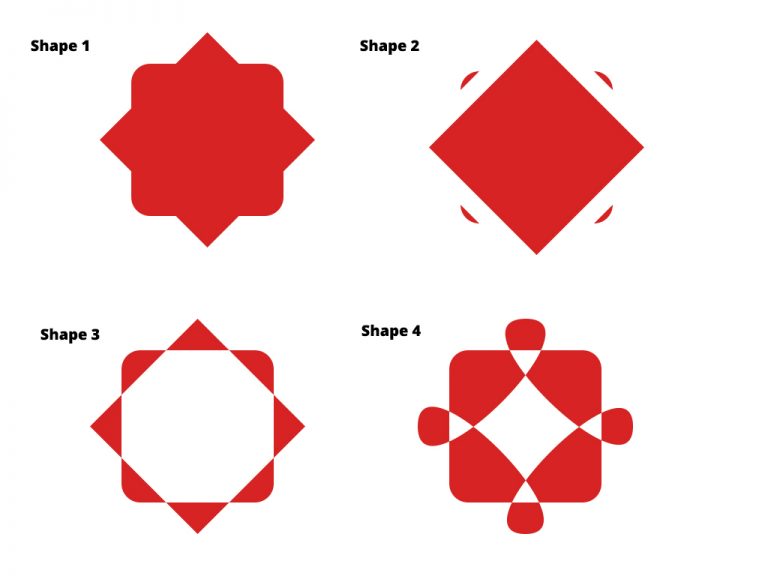
Photoshop Project 9: Creating New Shapes Using The Pen Tool
[siteorigin_widget class=”WP_Widget_Media_Image”][/siteorigin_widget] In this project we create some shapes and then customise them using the direct selection and pen tools. Shape 1: A square with a duplicated square on top of it. Use the free transform tool to rotate the second square by 45 degrees. Use the direct selection tool and set a radius to…
Photoshop Project 3: Combine Two Images With Layer Masks
[siteorigin_widget class=”WP_Widget_Media_Image”][/siteorigin_widget] This project demonstrates how to combine elements from two different images into one. First we start by combing both images onto one PSD file. Then we enable a mask on the top layer and use the brush to get rid of the sky from one image and use the sky for the other….